Carolin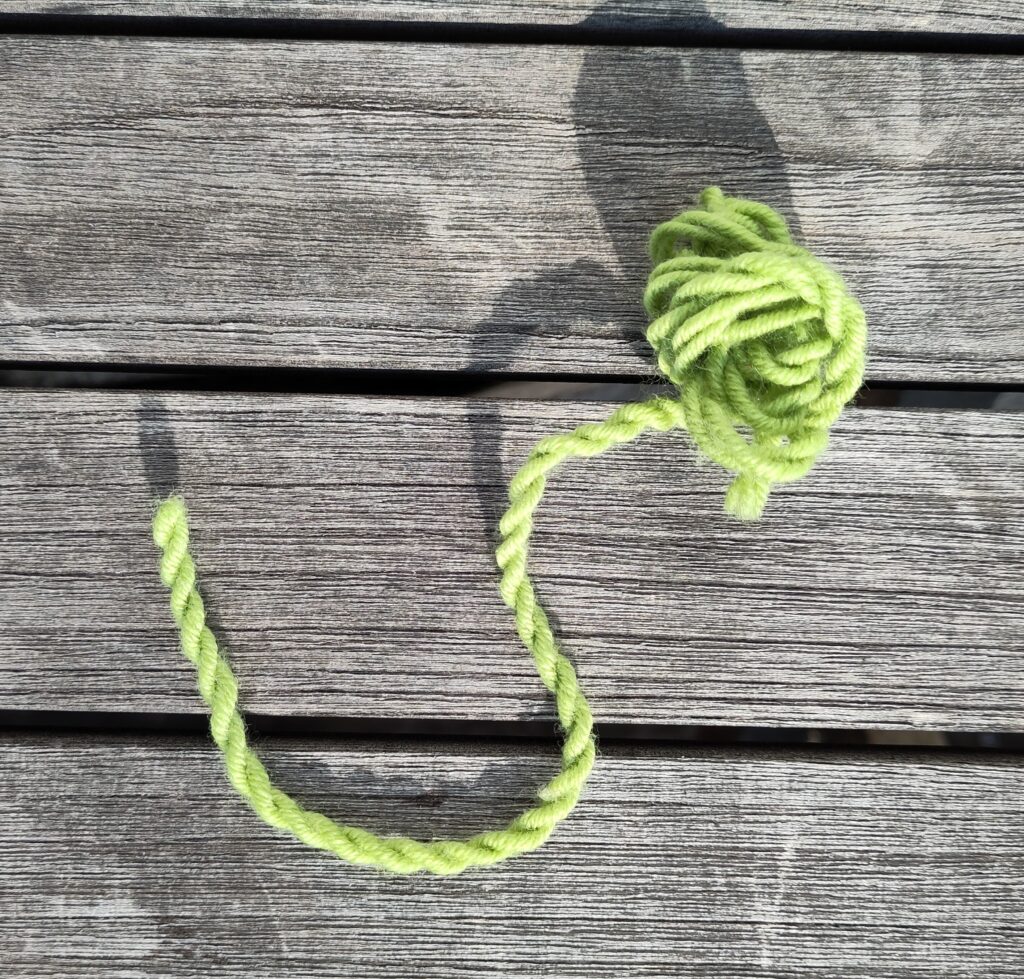
Of course, you can buy cords ready-made, but sometimes you simply cannot find one that matches your other materials. A simple solution is to make the cord yourself from the yarn you are already using for knitting or crocheting. I also love the fascinating moment when the yarn twists around itself.
Great effects can be created when you combine different materials. For example, you can combine thick yarn with thin yarn, or pair wool with a piece of ribbon. With very little effort, you can get quite creative here.
You can use cords for knitted or crocheted items as ties, decorative bows, or sturdy hangers. Many sewn items also incorporate cords or ribbons. Particularly beautiful cords can decorate a wall or a door frame as a garland.
How was that cord made again?
Preparation
For a cord about 80 cm long, tie a 2 m long piece of yarn to a door handle.
Twisting
Hold the yarn with slight tension and twist it 50 x in twist direction.
The slight tenison is important, for ditributing the turns equally over the length of the thread. Espacially, if you tied different yarns together.
The twist direction is the direction in which the thread is already twisted
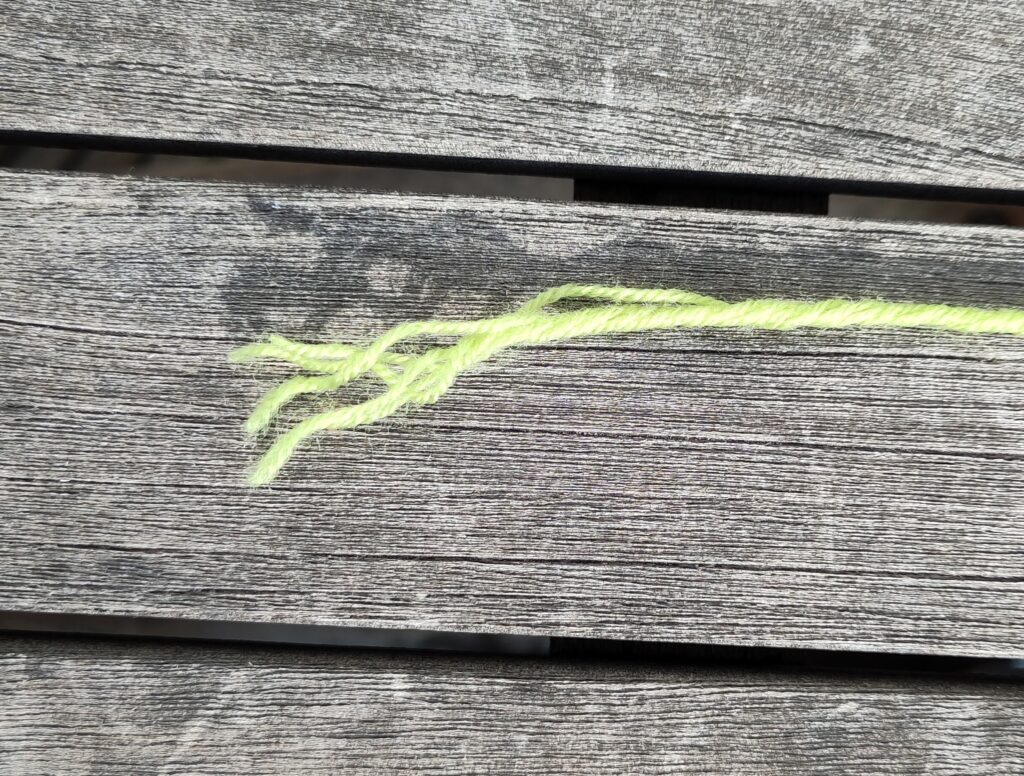
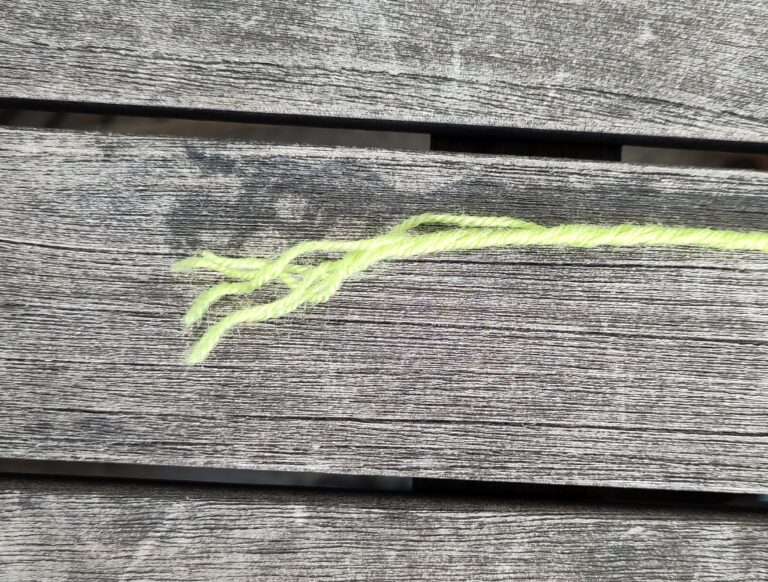
If you twist in the wrong direction, you will notice quickly, because you will start to untwist the yarn and the end of your strand will split apart, as shown in the photo. As soon as you twist in the correct direction, the individual strands will twist together again.
With ribbons or some single-strand yarns, the direction of twisting does not matter.
Letting go
Walk toward the door handle while holding the yarn in the middle with one hand. With the other hand, bring the two ends together. Then release the middle.
Ta-da! The yarn twists around itself.
Finishing
Gently adjust the cord until the two strands are evenly twisted around each other. You can secure the end of the cord with a knot.
If your home is not big enough for the length of your tie, go out in the parc or in the woods. Just make sure, nobody stumbles over your cord.
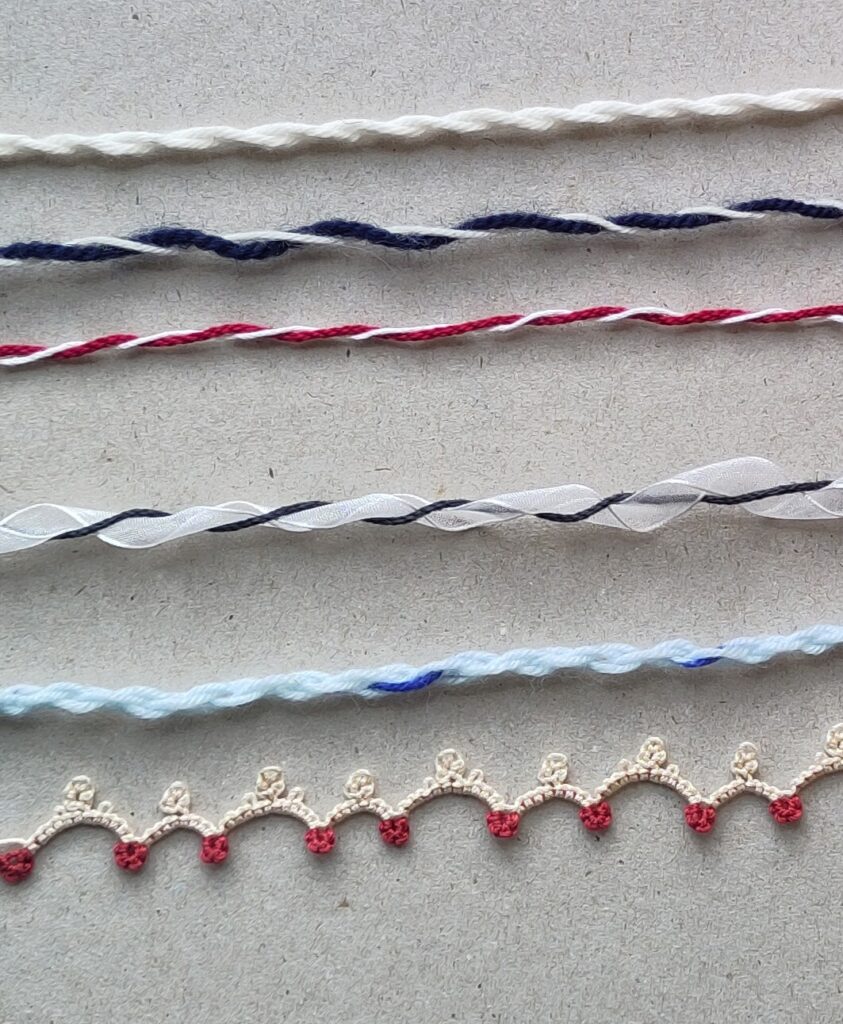
Using the same method, you can twist two finished cords together to make an even thicker cord, or combine them with other materials as mentioned above. Of course, you can also experiment with the number of twists to make your cord more or less tightly twisted. The following picture shows
- A white cord from two threads from the same skein.
- A blue -white cord with a thiker and a thinner thread.
- A white-red cord from two threads with the same thickness
- A blue-white cord from organza and a wool thread.
- A blue cord from four threads
- Well,...this is not a cord. This is a small tatted edging. If you'd like to know, how to make it, have a look here.
Knowing how to make a cord is not only practical but also deepens our understanding of our craft yarns. Many knitting and crochet yarns—as well as sewing threads—are made using the same principle. Twisting individual strands together provides greater strength and/or special effects.
If you understand how your yarn is constructed, you can also separate it for your own purposes. For example, six-strand embroidery floss is often divided for finer embroidery work.
In this article I have only scratched the surface. Would you like to learn more about yarns and their properties? Let me know in the comments.