Carolin
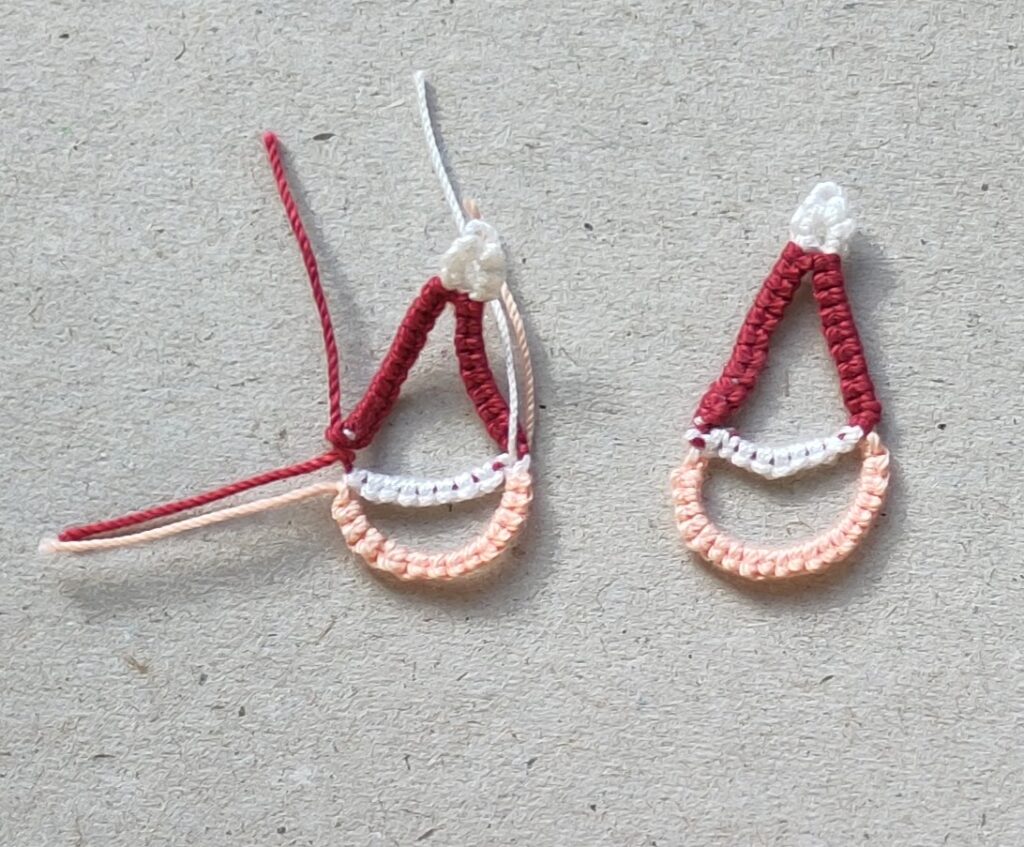
Tatting stitches are a lot of fun—if only it weren't for those annoying thread ends! In this post, I will show you different methods for making your threads disappear seamlessly.
Each method has its own pros and cons, and different techniques are suited for different types of tatting projects. I usually use a combination of several methods myself. There is no right or wrong here—try them out and choose whatever works best for you!
- Cutting and Gluing
- Weaving in Ends
- Tatting Over / Hiding Ends As You Go
- Pull-Through Threads (Magic Thread)
Cutting and Gluing
For this method trim the ends short and fix them with a bit of glue.
The ends of synthetik yarn can be melted with a lighter.
Pros:
- easy
- quick
- The tatting work will not distort
- Does not require prior planning
Cons:
- less durable
- Glue often contains plastics or other unwanted ingredients
Best suited for:
- Small decorative pieces without skin contact
- Multicolored motifs with many ends
- Projects not subjected to mechanical wear or strain
Weaving in Ends
Here, you thread each tail onto a needle and weave it through four or five stitches on the back of your work.
Tipp: Do not cut your thread ends too short before weaving so you can work comfortably!
The right needle needs to meet two criteria:
Large eye:So the tatting thread fits through easily.
Fine profile: The needle must be thinenough overall to slide through the firm double stitches.
Alternatively, you can split the thread tail in half and weave in the two halves individually. This takes a bit longer, but reduces the risk of distorting the stitches.
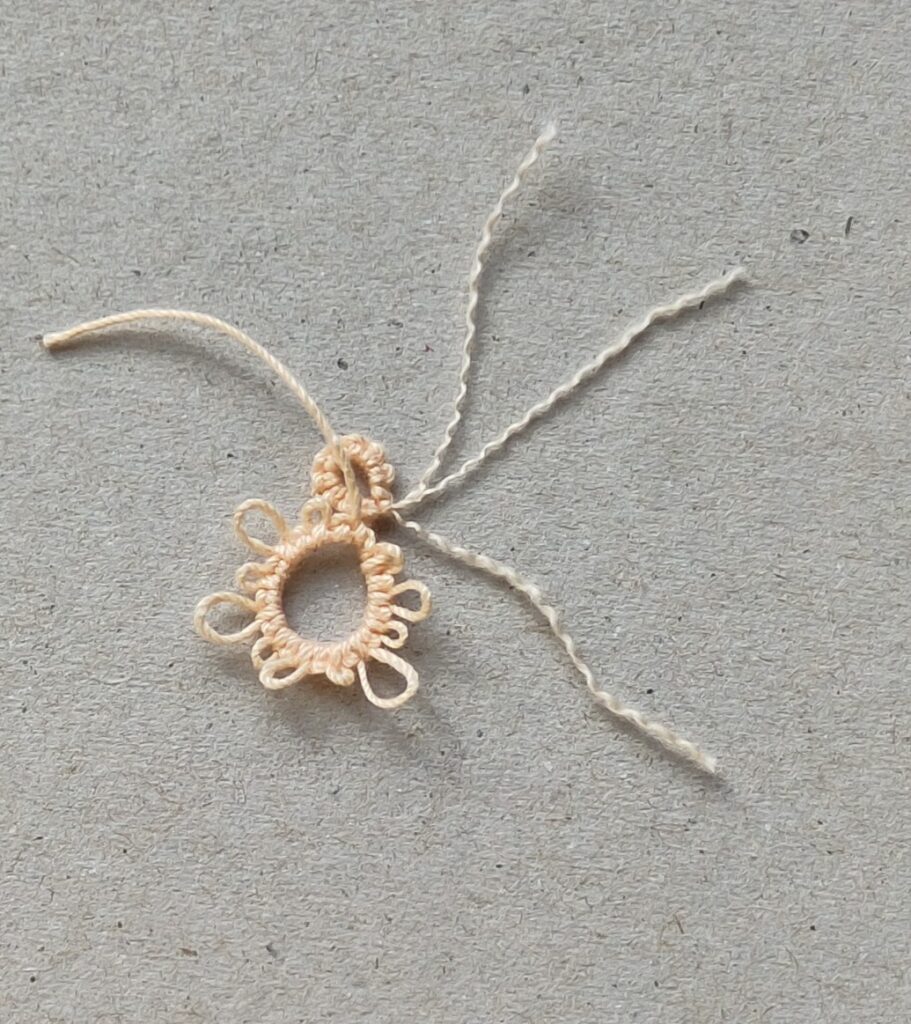
If the back does not need to look perfect (e.g., for doilies or lace edging that lay flat), you can weave the thread visibly along the back by inserting the needle through only every second half stitch or every third double stitch. This allows you to carry the thread across multiple elements, making it exceptionally durable.
Pros:
- durable
- Does not require prior planning
Cons:
- Fiddly
- time-consuming
- Only works with relatively loose stitches
- The tatting work can distort
- Requires a suitable, very fine needle
Best suited for:
- Solid-color, medium to large tatting projects
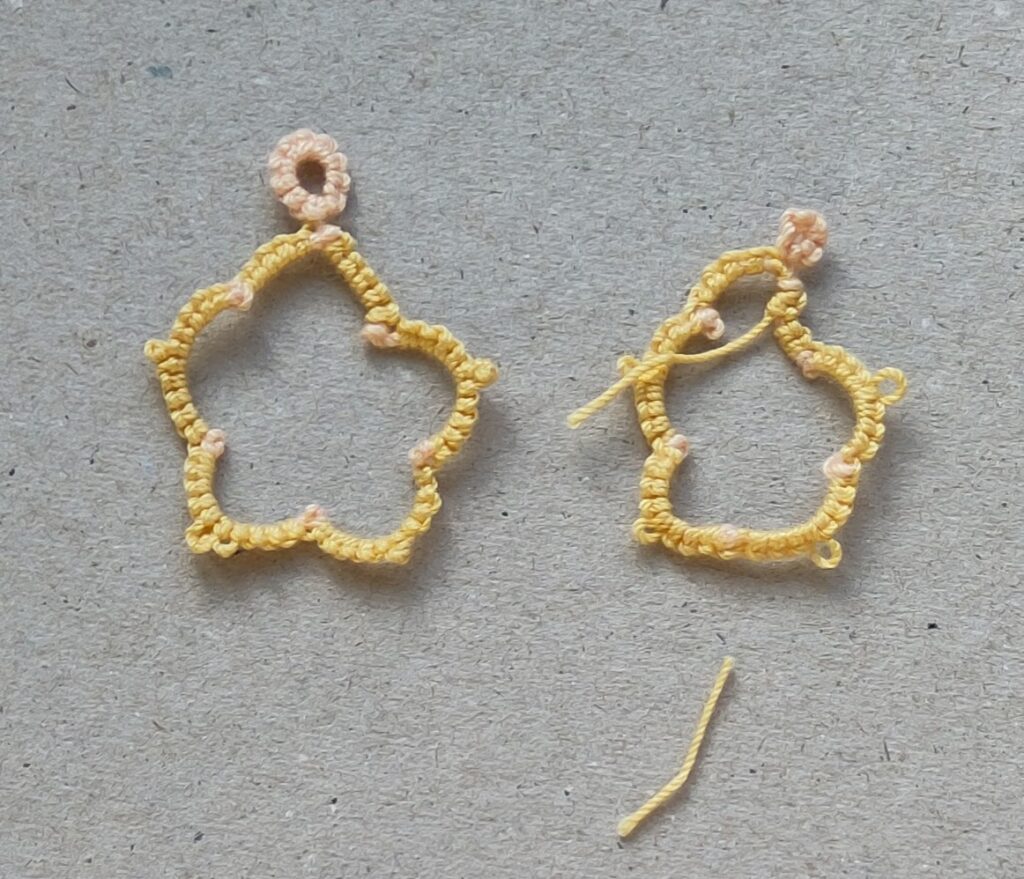
The following picture shows a distorted star on the right side. The needle was too thick. The next two techniques (Tatting Over / Hiding Ends As You Go and Pull-Through Threads (Magic Thread)will avoid this.
Tatting Over / Hiding Ends As You Go
I already explained this technique here .

Pros:
- durable
- no weaving in at the end of the project
- The tatting work will not distort
Cons:
- Cannot be used in every situation or position
- Can interrupt your stitching flow
Best suited for:
- Solid-color projects
- Projects with few color changes
Pull-Through Threads (Magic Thread)
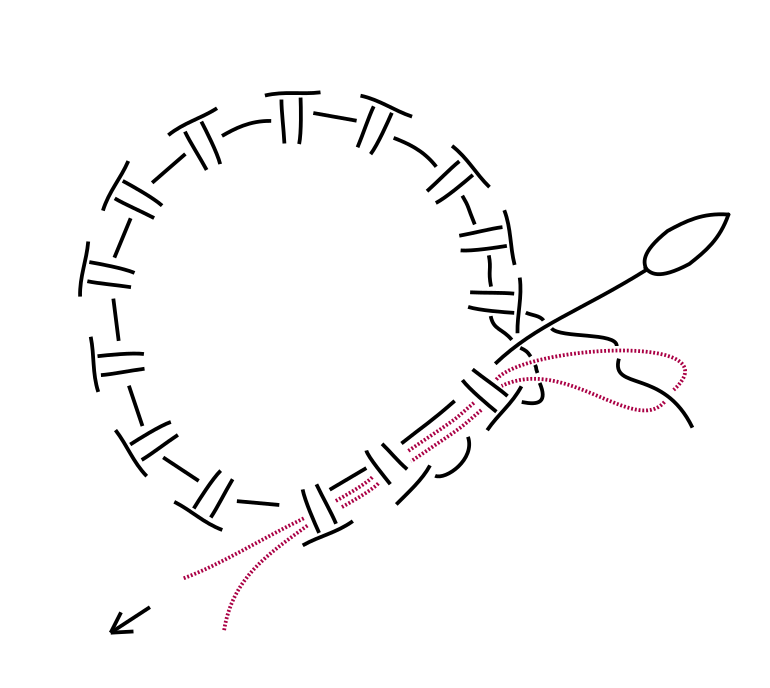
With this technique, you include a looped helper thread (such as thin sewing thread) at appropriate places while tatting. Later, the tatting thread tail is passed through the loop. By pulling both ends of the helper thread firmly, the loop carries the tatting thread right through the stitches.
Important: The loop should never sit directly next to the last stitch. Place it as far away from the last stitch as the distance you want the thread to travel through the stitches.
You can also find detailed step-by-step instructions for this in my pattern for the Five Ice Cream Minis .
Pros:
- durable
- no weaving in at the end of the project
- The tatting work will not distort
Cons:
- requires planning
- magic thread can break
Best suited for:
- Virtually any type of tatting work
What is your favorite method for finishing thread ends? Feel free to share your experiences and tips in the comments below!