Do you need more stitch markers for different needle sizes?
Just tat your own and make them fit your needs.
You get this pattern for free on my blog. If you want to support my work, you can purchase the pattern as pdf-file in my Etsy-Shop .
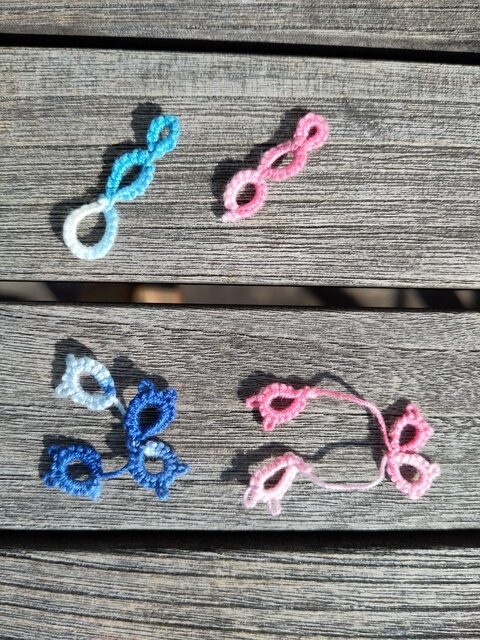
You will find a version with split ring and one with simple rings.
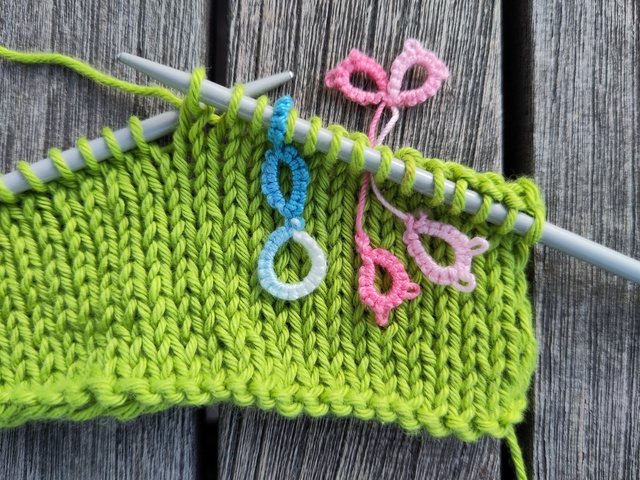
Both come with rings in different sizes for different needles. You can place
the bow-shaped stitch markers between stitches. To remove them, gently pull them out. This way they are also suitable for crochet. The version
with a split ring will dangle less while knitting.
Measurements
About 2.5 cm long suitable for needles from 2 mm to 6 mm needles
For thicker needles, increase the number of double knots per ring.
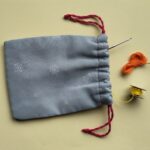
Materials
- ca. 1 m + 30 cm of lace-weight mercerized cotton yarn (50 g = 280 m) per stitch marker. 30 cm are necessary for working the last ring comfortably. 2.3 m for two stitch markers made from the same yarn. 1.3 m each for two stitch markers made from different yarns. I used some scraps from my stash.
- Two shuttles
- Scissors
Let’s tat
- ’Drei Ringe’ mit geteiltem Ring
Start in the middle of your thread and wind each end onto a shuttle.
R 8
g R 7/7
R 16
Continue with the finish. - Rose Bow
Start at one end of your thread and wind the thread onto a shuttle. Hide the small end in the first four double knots of the first ring. (If you don’t know, how to do that, trim the end short and secure it with a drop of glue later.)
R 6-3-6, leave a 2 cm gap.
R 5-3-5, leave a 2 cm gap.
R 3-3-3
Continue with the finish. - Blue Bow
This version has all rings in the same size. Therefore it has a neater look.
Start at one end of your thread and wind the thread onto a shuttle. Hide the small end in the first four double knots of the first ring.(Or trim the end short and secure it with a drop of glue later.)
R 6-3-6, leave a 1 cm gap.
R 6-3-6, leave a 1 cm gap.
R 6-3-6
Continue with the finish. - Finish:
Tie one last double knot with the ends and trim the ends close. You can secure the last knot with a small drop of glue, if desired.