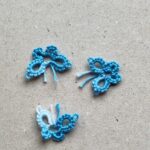
I love split rings and use them frequently in my patterns, such as the row counters or the Floral Edging Vesna.Splitrings offer additional design possibilities and are surprisingly easy to make. If you already know how to make a basic ring, you already have all the skills needed to knot a split ring.
What is a Split Ring in Tatting??
A split ring is worked with two shuttles. Unlike a basic ring, it has an "entrance" and an "exit." In a basic ring, the shuttle thread exits exactly where the ring began. In a split ring, the threads emerge at a different point. Split rings can contain picots or be joined to other elements, just like regular rings and chains.
Why Do You Need Split Rings?inge?
Split rings open up a world of design possibilities:
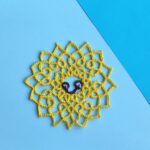
Seamless Rounds: Some doilies are worked in multiple rounds. If you work the last ring of a round as a split ring, you can move inconspicuously into the next round without having to cut and hide your thread.
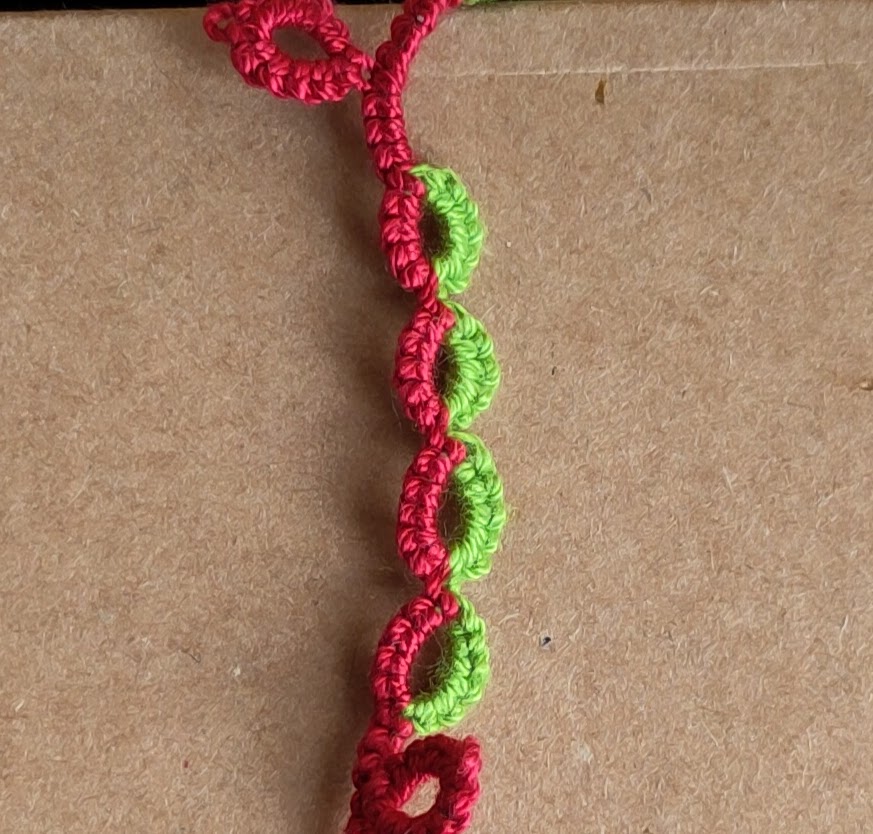
Ring Chains: Split rings allow us to string rings together like a chain. By cleverly arranging the stitches, the chain can curve or even turn sharp corners, allowing you to define outlines precisely.
Color Effects: Since we work with two shuttles, we can use two different colors to create interesting visual effects.
How to Make a Split Ring?
You will need:
- Smooth crochet thread
- Two shuttles
Wind your shuttles
Cut a length of yarn (two meters is enough for your first try). Wind each end onto one of the shuttles.
The First Side:
The split ring starts like a basic ring. Take the first shuttle and work, for example, 5 double stitches. Start as usual with a "flipped" under stitch. an.
The Opposite Side:
Turn the half-finished ring and take the second shuttle. To ensure the ring can still be closed later, these stitches must not flip. Work 5 double stitches, starting with an "unflipped" over stitch. an.
Closing:
Switch back to the first shuttle and pull the ring closed.
- Wind your shuttles
Cut a length of yarn (two meters is enough for your first try). Wind each end onto one of the shuttles.
- The First Side:
The split ring starts like a basic ring. Take the first shuttle and work, for example, 5 double stitches. Start as usual with a "flipped" stitch.
- The Opposite Side:
Turn the half-finished ring and take the second shuttle. To ensure the ring can still be closed later, these stitches must not flip. Work 5 double stitches, starting with an "unflipped" stitch.
- Closing:
Switch back to the first shuttle and pull the ring closed.
How to read Patterns with Split Rings
Tatting patterns are represented in different ways—some use text, some abbreviations, and some only diagrams. Here is how I display them in my patterns, which usually include both abbreviations and diagrams:
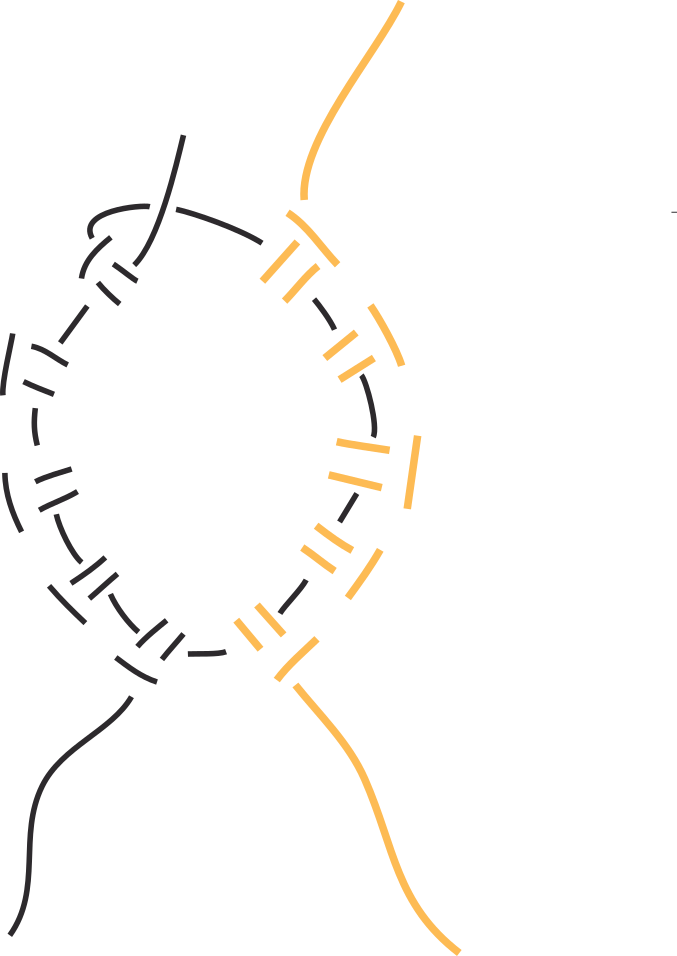
I use the term "Split Ring" and abbreviate it as SR. The number of double stitches for the first side and the opposite side are separated by a forward slash.
Before the slash: Stitches worked with the first shuttle (flipped).
After the slash: Stitches worked with the second shuttle (unflipped).
Example:
SR 5 / 5
Example for an asymmetrical split ring:
SR 3 + 3 / 6 - 3
Both rings are shown in the diagram. The "entrence" and "exit" of a ring are represented by a short line. They look just like picots.

Do you also love split rings? Let me know in the comments.