Do you need more row counters for different needle sizes?
Just tat your own and make them fit your needs.
You get this pattern for free on my blog. If you want to support my work, you can purchase the pattern as pdf-file in my Etsy-Shop .
Dieses Miniprojekt ist perfekt, um split rings neu zu lernen und zu üben. Wenn Du sie schon beherrschst, bist Du ruckzuck fertig.
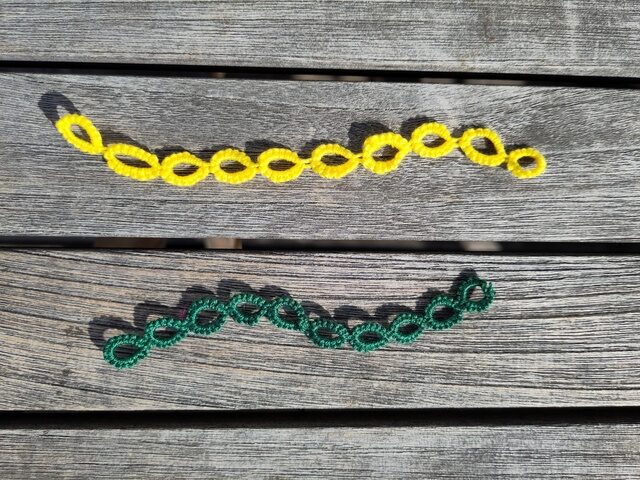
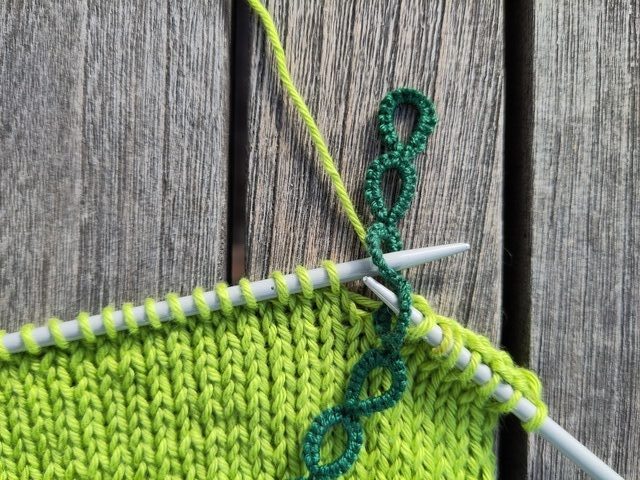
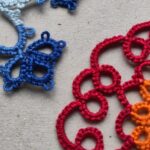
The row counter is made from ten interconnected rings. While knitting, insert your needle into one of the outer rings to mark the first row. With every new row, move the counter forward by inserting the needle into the next ring. This way, you can keep track of your rows without counting or taking notes. Once you reach the last ring, you’re on row 10. For more rows, you can use additional row counters or simply reuse the same one.
Measurements
Green row counter (12 cm long) fits 5mm needles
Yellow row counter (15 cm long) fits 6mm needles,
(same number of knots, just worked more loosely.)
The row counters also work with thinner needles.
Materials
- 2.5 m of lace-weight mercerized cotton yarn (50 g = 280 m)
.
I used some scraps from my stash
Alternative aus Biobaumwolle. - Two shuttles
- Scissors
Let’s tat
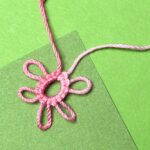
Beginne in der Mitte Deines Fadens und wickle beide Enden auf je ein Schiffchen.Arbeite zunächst einen einfachen Ring (16).Arbeite neun mal einen geteilten Ring (8/8).(Für dickere Nadeln, erhöhe die Anzahl der Doppelknoten.)Mache zum Abschluss mit den beiden Fadenenden einen Doppelknoten. Lasse von den Fadenenden 2-3 cm stehen und schneide den Rest ab. So hat Dein Reihenzähler zwei unterscheidbare Enden.Alternativ: schneide die Fadenenden knapp ab. So sehen die Reihenzähler ordentlicher und edler aus.Zur Sicherheit kannst Du den letzten Doppelknoten mit einem Tröpfchen Klebstoff fixieren.
- Let’s tat
Start in the middle of your thread and wind each end onto a shuttle.
Tat one simple ring (16).
Arbeite neun mal einen geteilten Ring (8/8).
(For thicker needles, increase the number of double knots per ring.)
Finish: Tie one last double knot with the ends. Keep 2-3 cm (1 inch), then trim the rest. This gives your row counter two distinct ends. Alternative: For a neater finish, trim the ends close.
Alternativ: schneide die Fadenenden knapp ab. So sehen die Reihenzähler ordentlicher und edler aus.
You can secure the last knot with a small drop of glue, if desired.
Die Reihenzähler gefallen mir besonders gut. Einfach genial!!!